Step 1: Think & Share
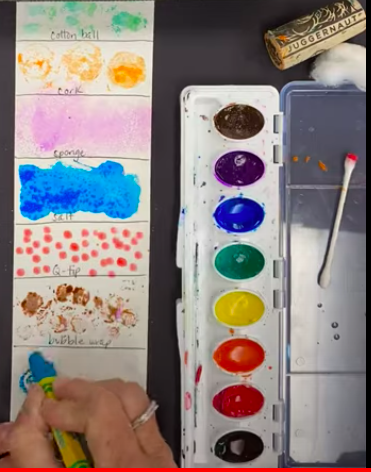
Besides a paint brush, what other tools could you paint with?
Look at the chart below & start thinking...what other tools could you use when you paint? Visit the website to learn more. 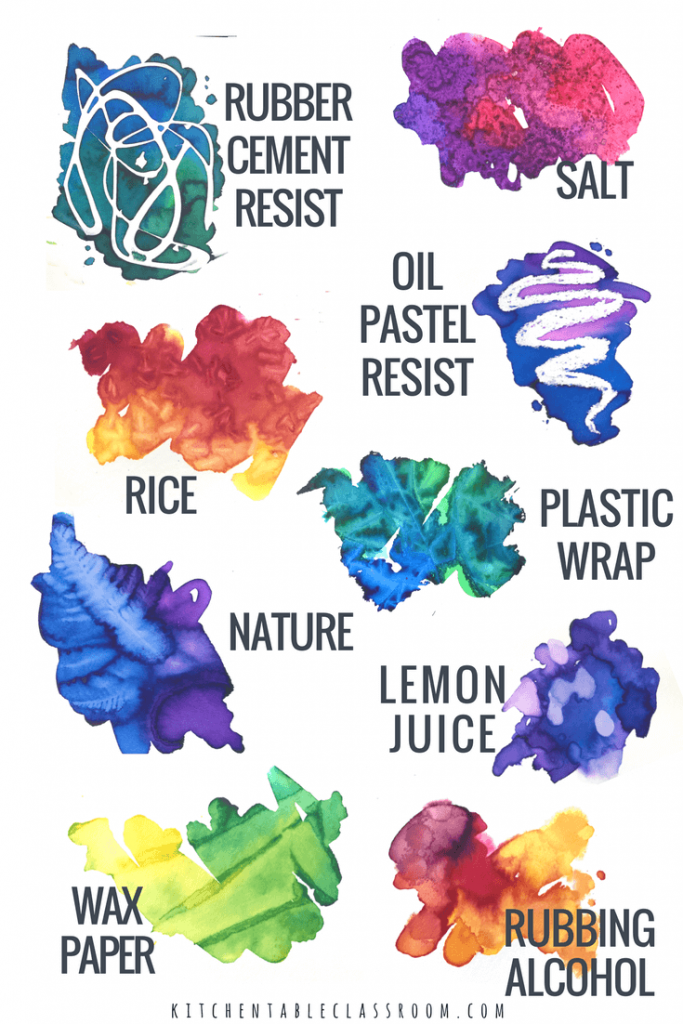
Step 2: Watch a Story (or two)Step 3: Create
Step 4: Share
Click here to post a photo or video of your creation on this Flipgrid. Log in with your Inouye account.
Step 1: Think & Share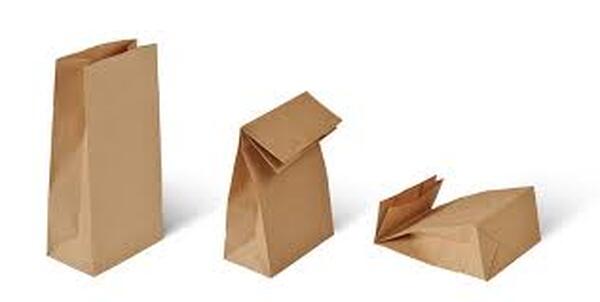
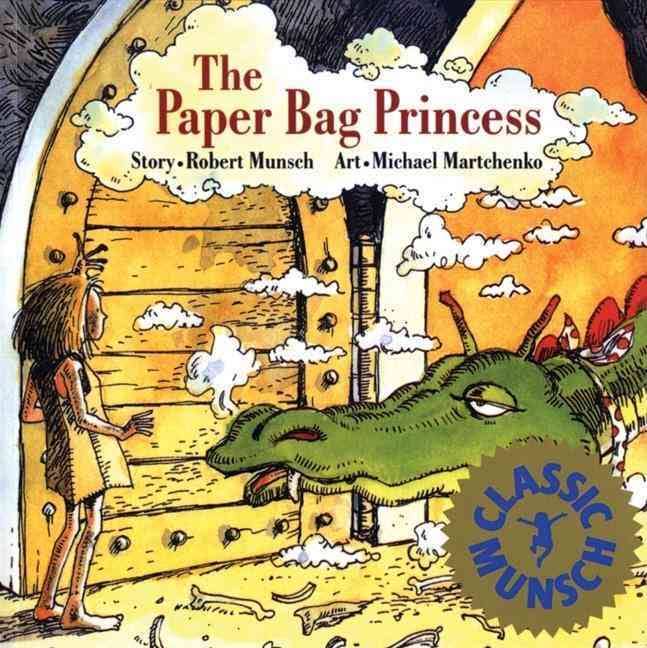
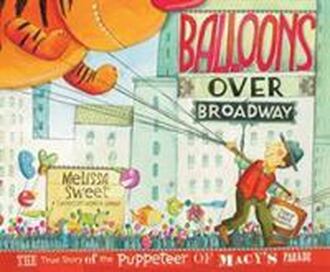
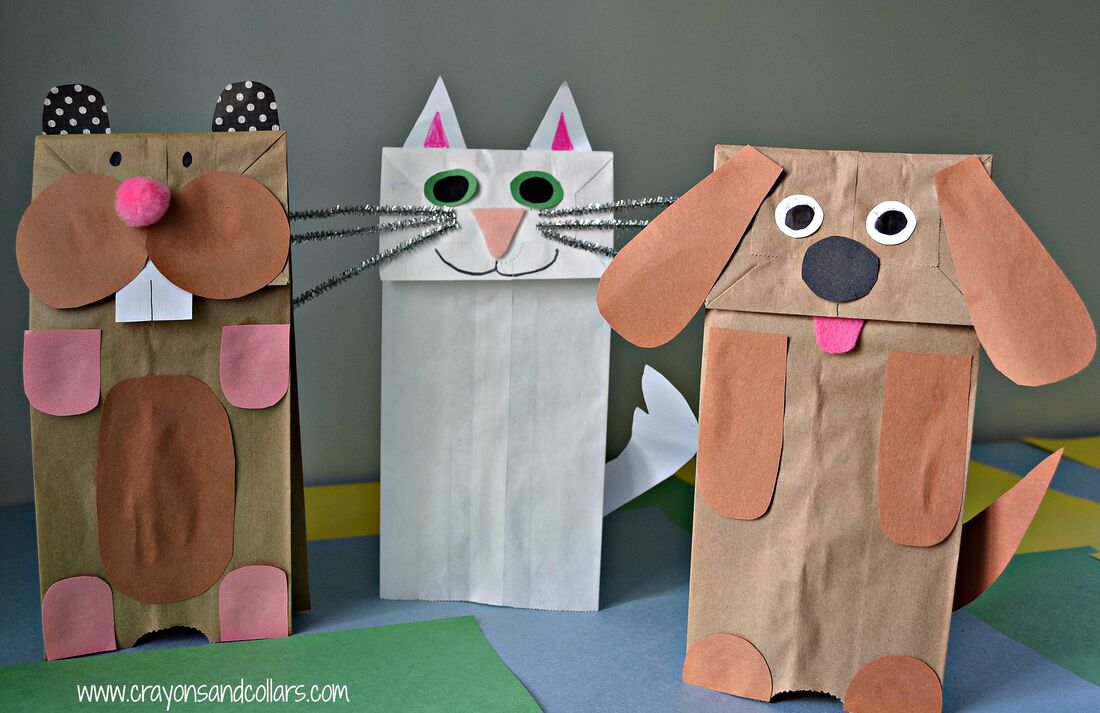
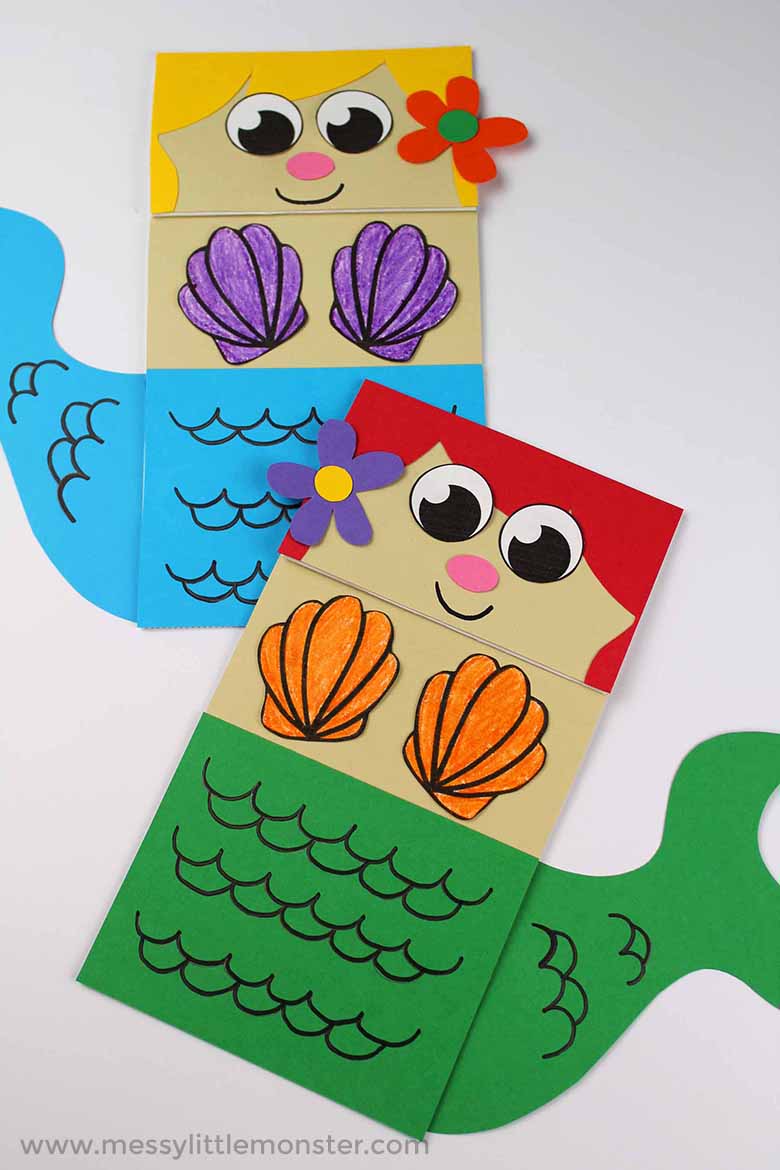
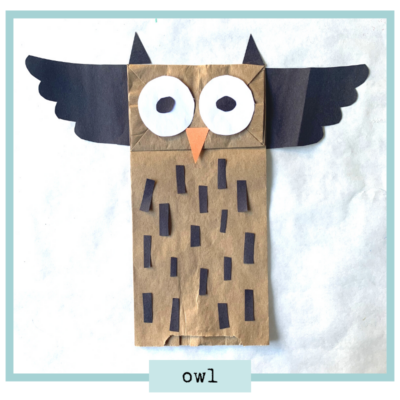
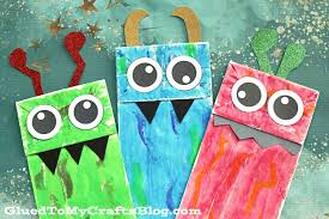
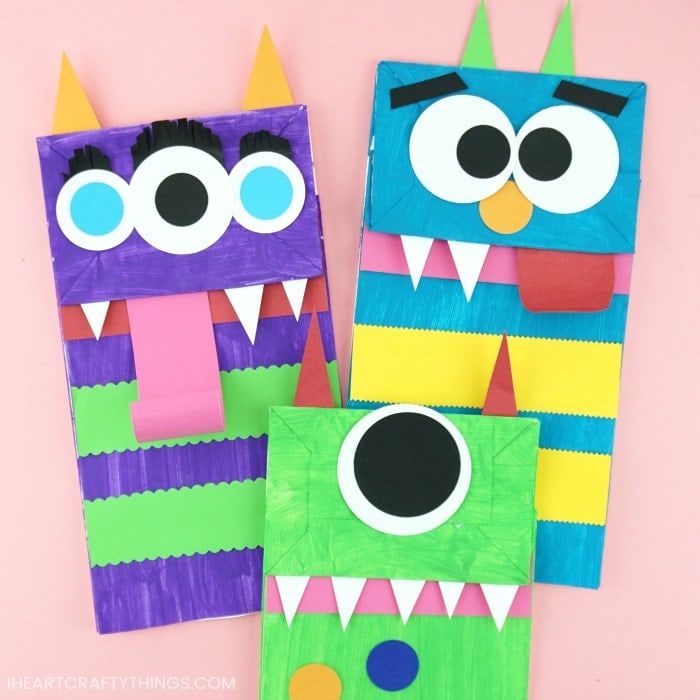
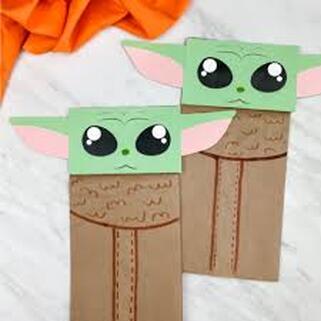
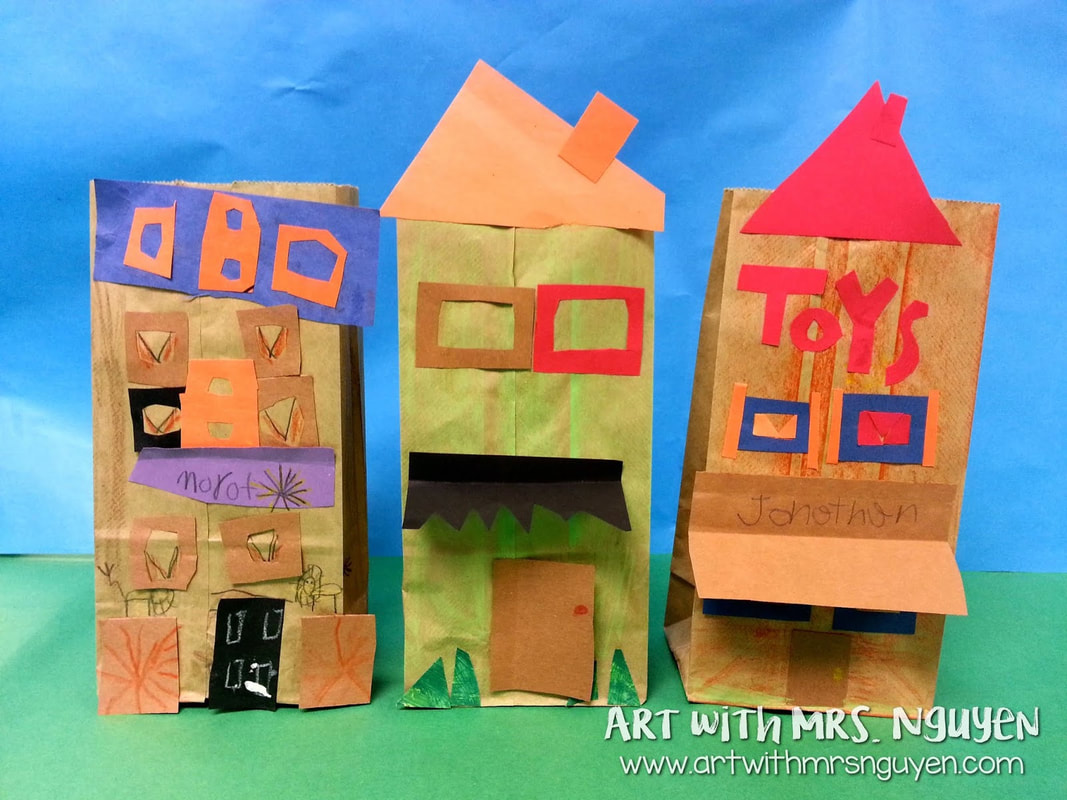
What can you make with a paper bag? Lots of things!
A cover for a journal, a kite, wrapping paper, a poem, a giant canvas... This week, we invite you to make a puppet or a building or something else out of a paper bag. Step 2: Watch a story (or two)
Step 3: Create!
Step 4: Share
Click here to post a photo or video of your creation on this Flipgrid. Log in with your Inouye account.
Step 1: Think & Share
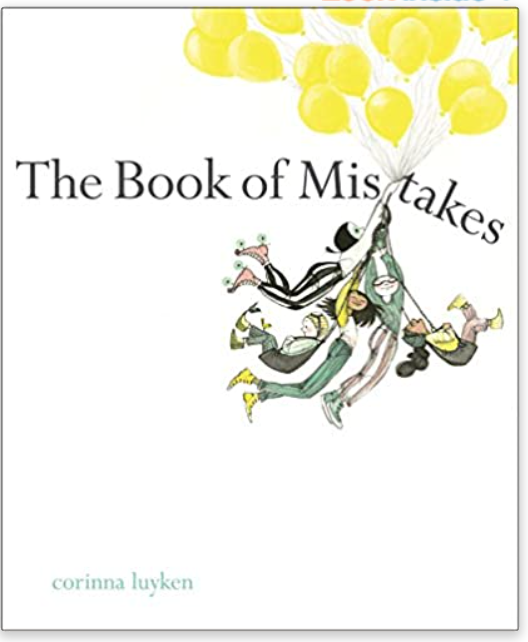
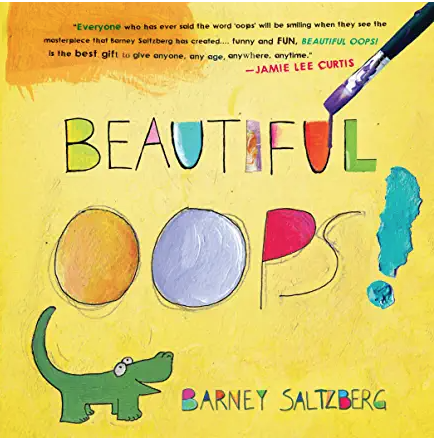
Step 2: Read & Listen
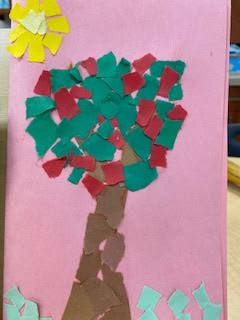
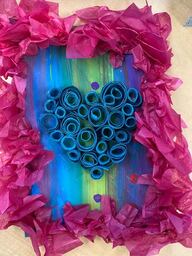
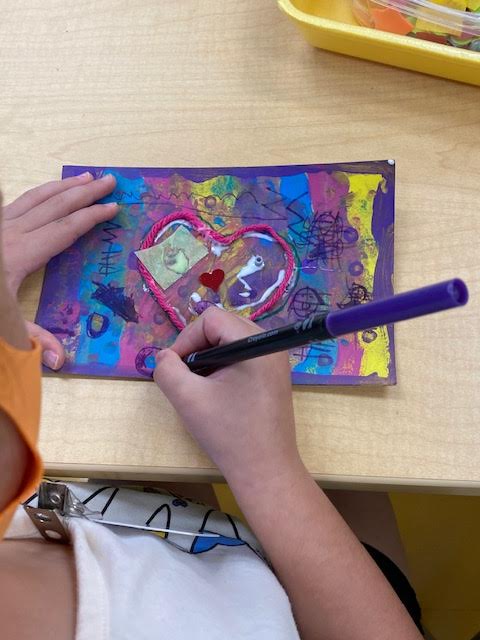
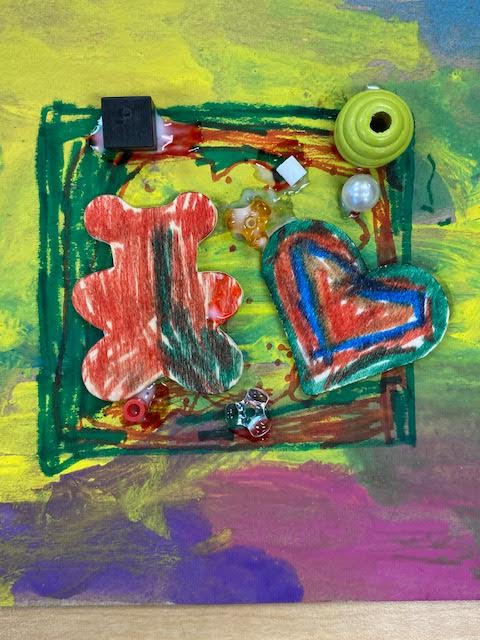
Step 3: Create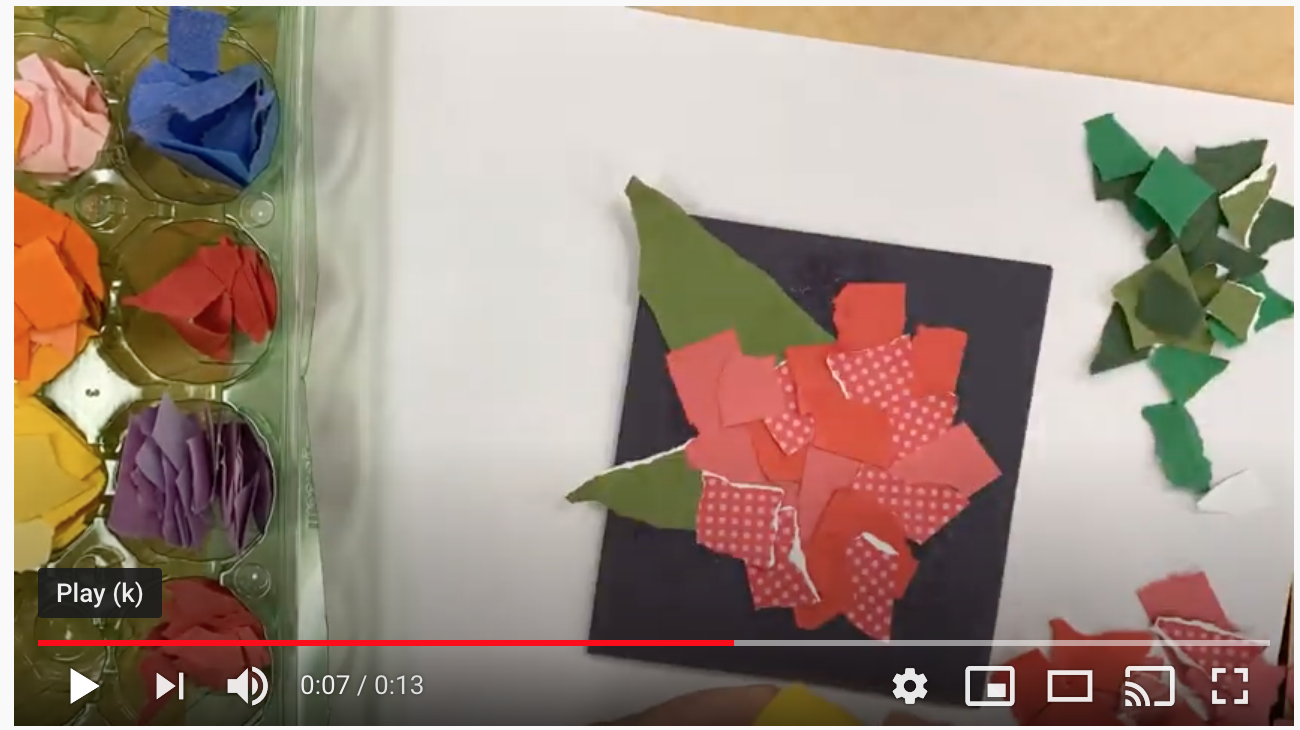
Click the picture to watch the video
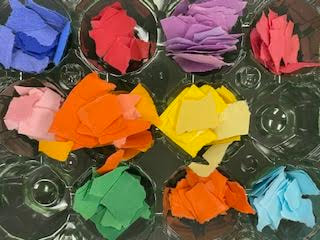
Supplies:
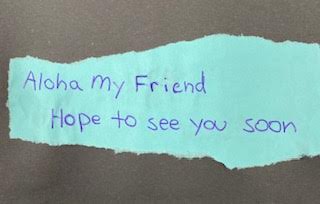
Paper torn into small pieces Paper for a card or to use as your canvas Glue If you have a BIG piece of paper, you can fold it to be a card. We're glueing our tear art onto a card so we can write a kind message & give our art to somebody special.
Step 4: Share
Before you give your card away, click here to post a photo or video of your creation on this Flipgrid. Log in with your Inouye account OR use the password: dkies2020. Show us your tear art, read us the message & tell us who you are giving the card to!
Step 1: Think & share
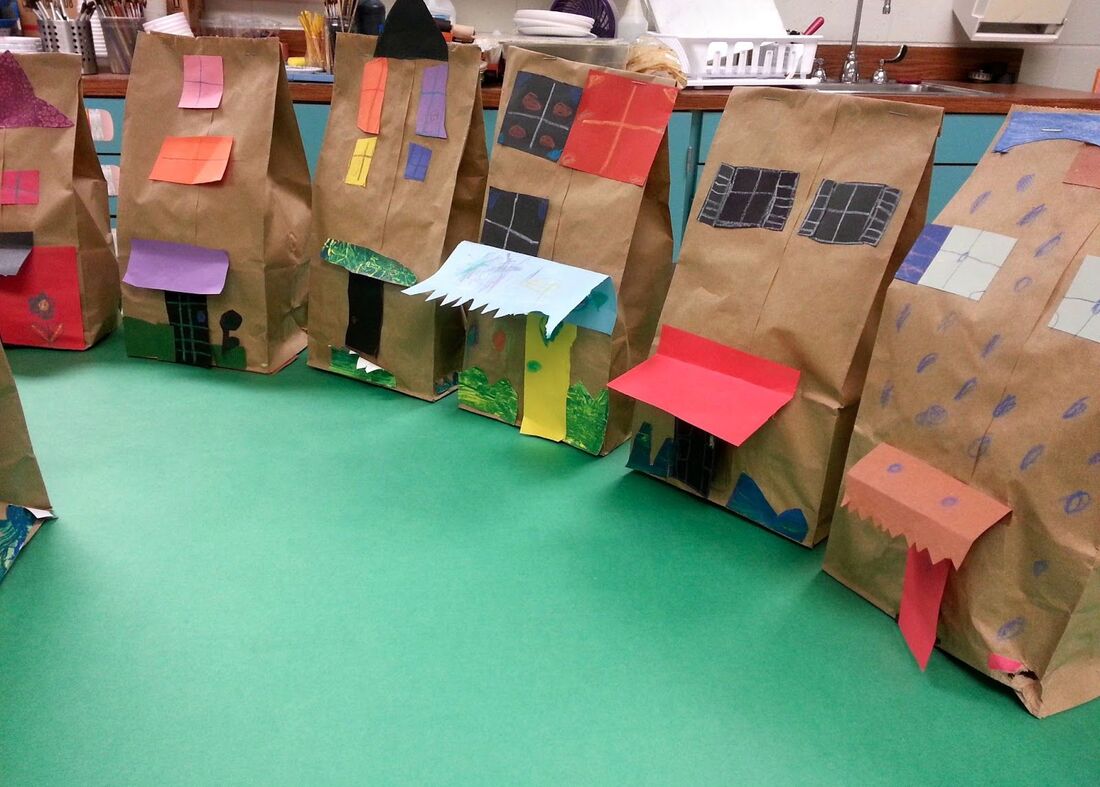
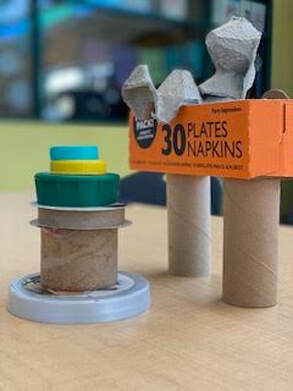
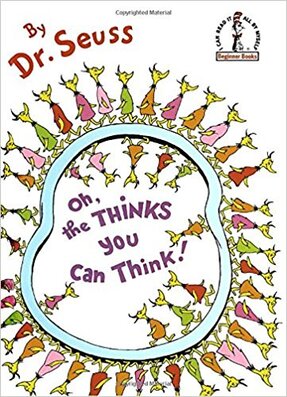
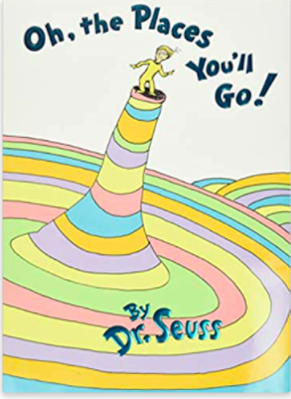
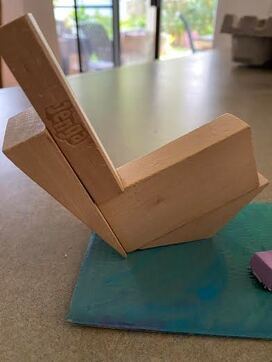
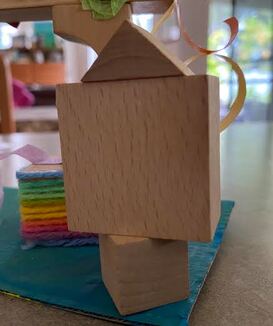
Dr. Seuss created some zany characters and he created some silly structures too. As you watch the books below, pay close attention to his buildings, cars and towns. What if we combined our paper sculptures, zendoodles & recyclable materials to create a Seussville sculpture?! Could it look like one of these?
Step 2: Read a book (or two)
Step 3: Create
Supplies:
Ask mom or dad for recyclables you can use Paper "bling"=sequins, tissue paper, foam shapes, bottle caps...anything to add some excitement &. color to your sculpture glue scissors crayons/markers As you build... Move objects around. Stack them this way and that way. Try different ways of connecting and stacking them to create silly structures. Add some color and bling and have fun!
Step 4: Share
Click here to post a photo or video of your creation on this Flipgrid. Log in with your Inouye account OR use the password: dkies2020
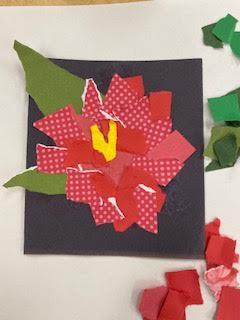
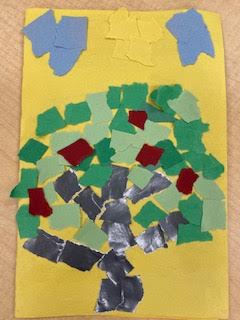
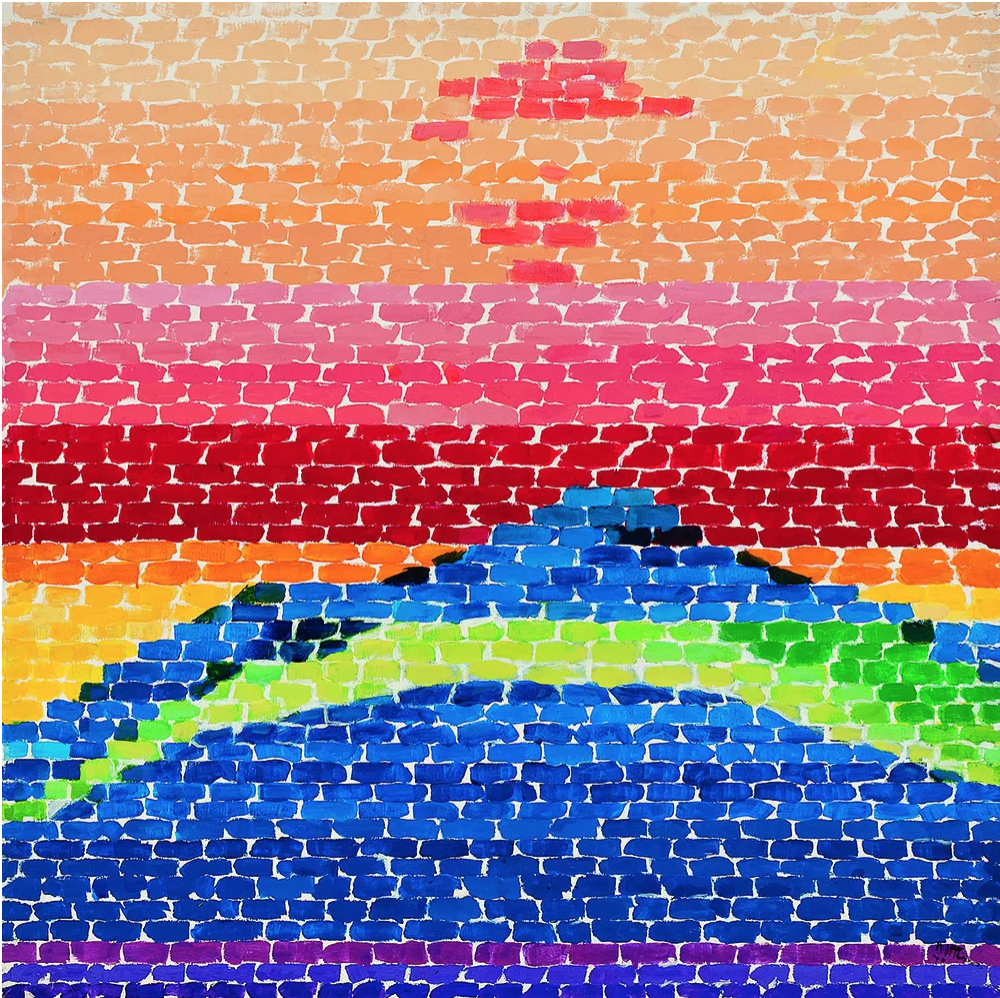
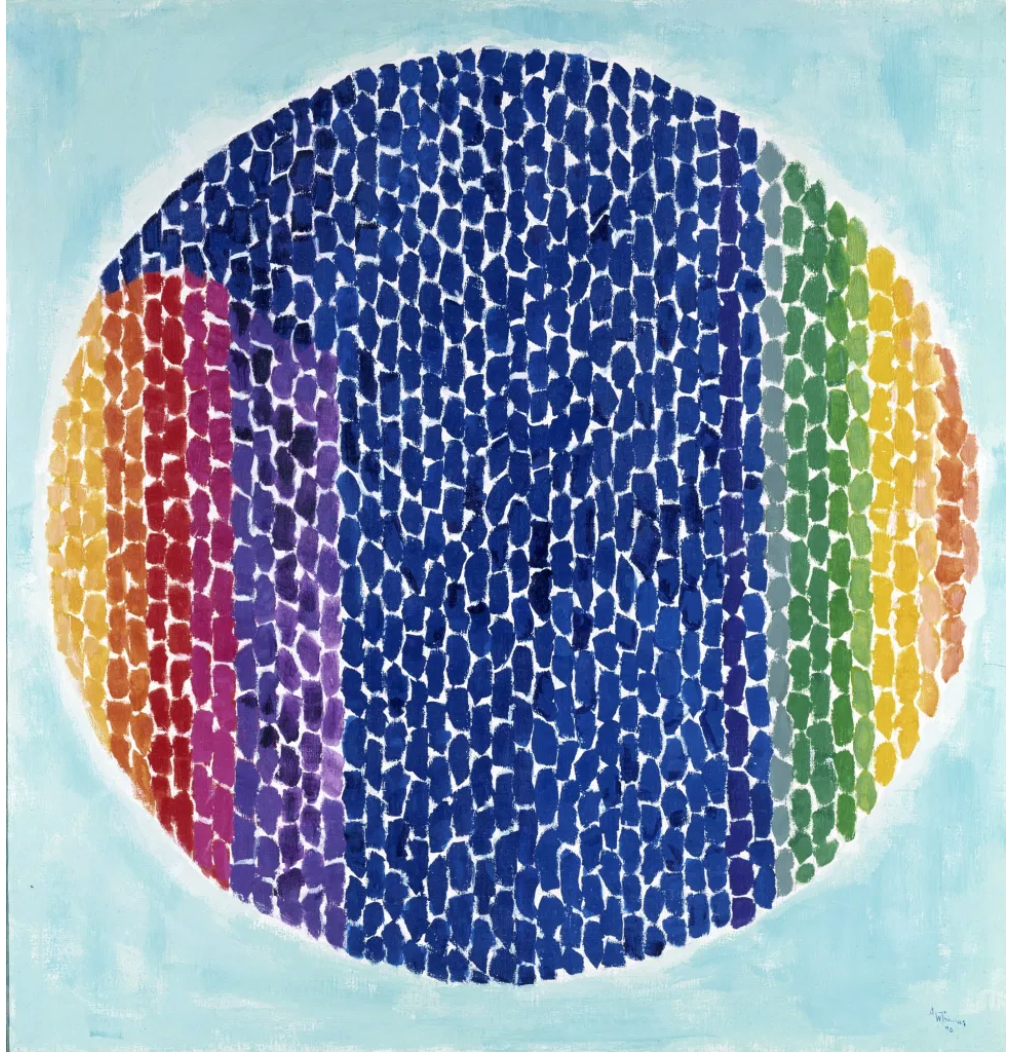
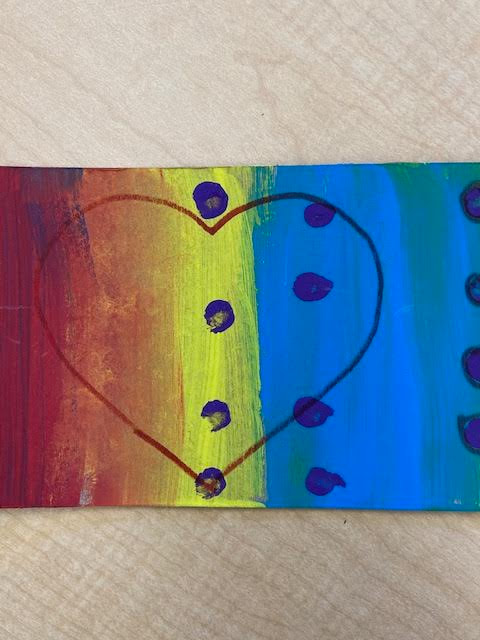
Step 1: Think: How do these paintings make you feel?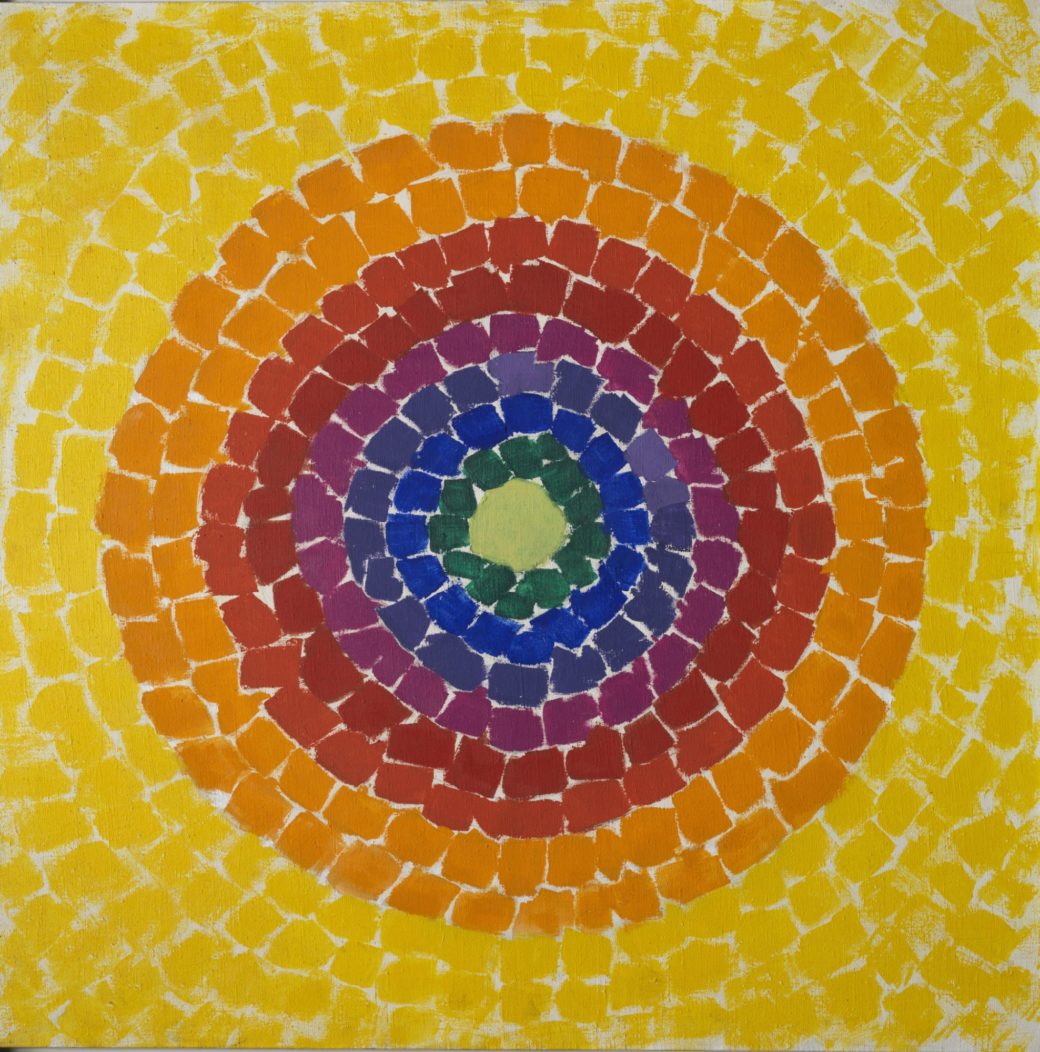
This painting is called Resurrection. It was one of the first paintings by an African American woman to hang in the White House. Click the image to learn more.
Step 2: Watch & Learn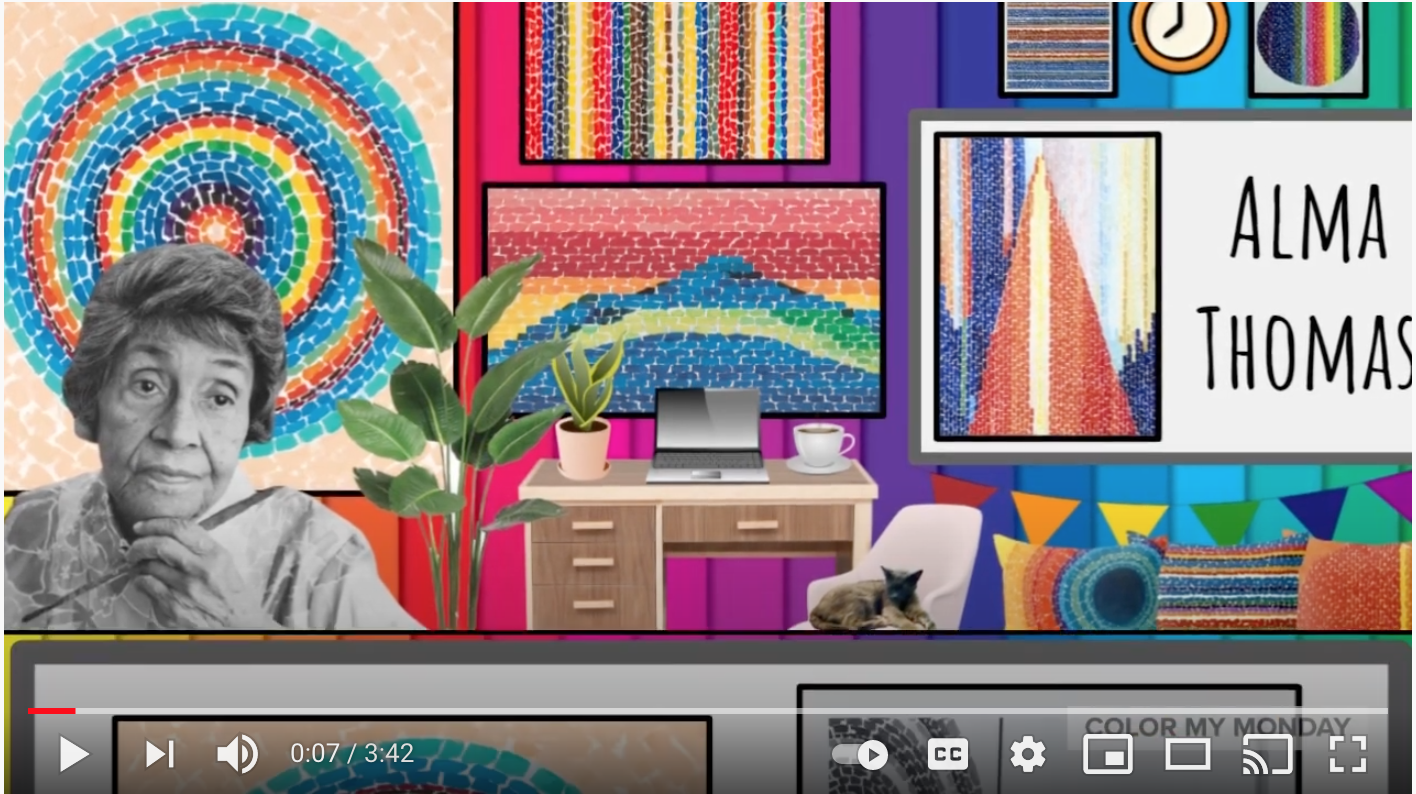
Click the image to watch & learn about African American artist & educator, Alma Thomas.
Step 3: Create
Supplies:
Paper Paint Paint brush OR you can tear pieces of construction paper & glue them on paper OR you can color squares, rhombuses and rectangles with pens or crayons or colored pencils 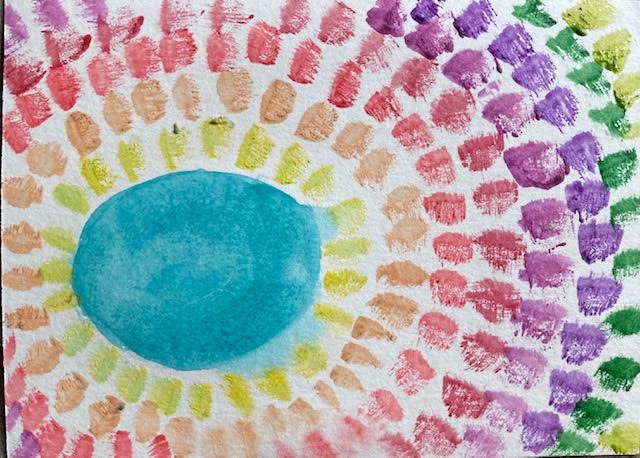
Step 4: Share
Click here to post a photo or video of your art on this Flipgrid. Log in with your Inouye account OR use the password: dkies2020
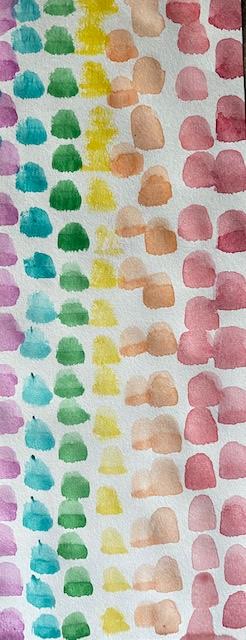
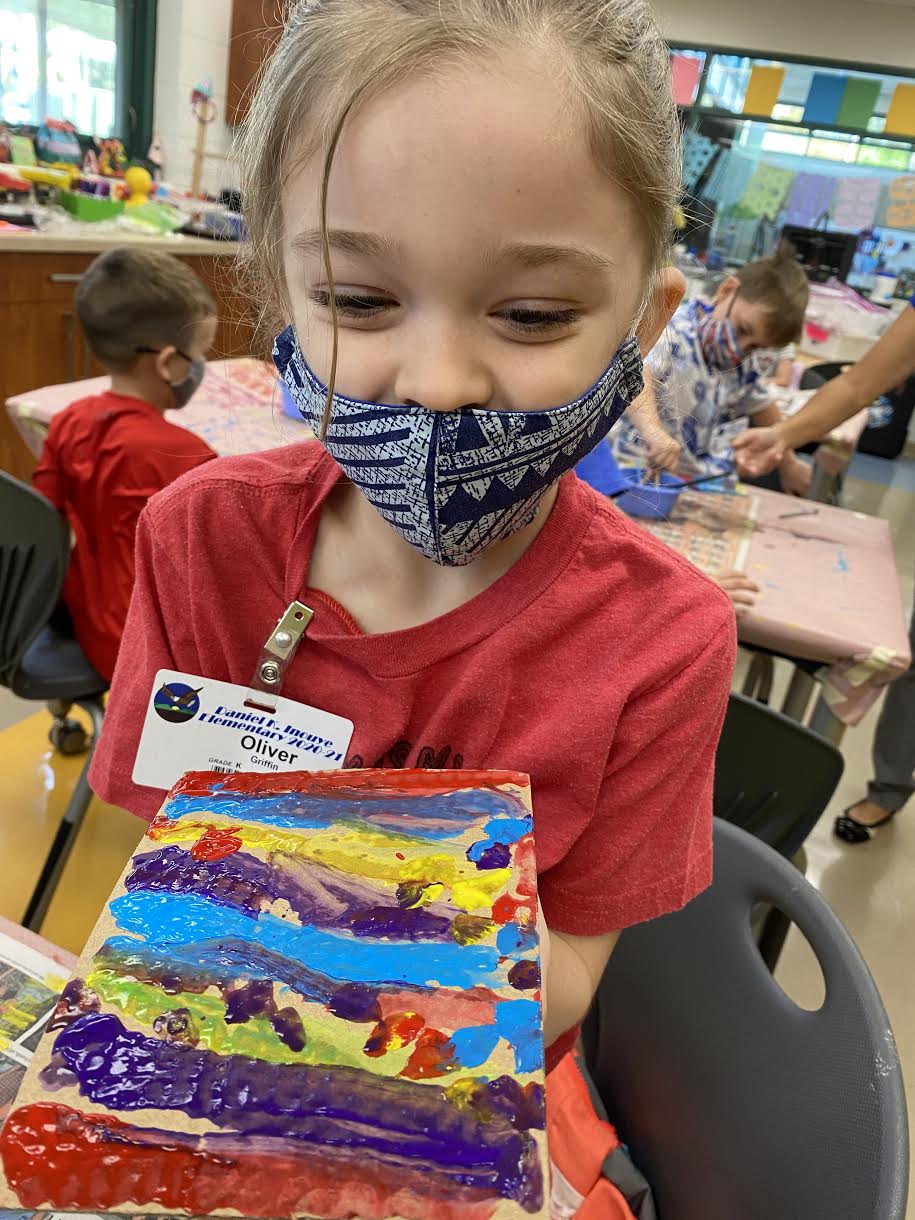
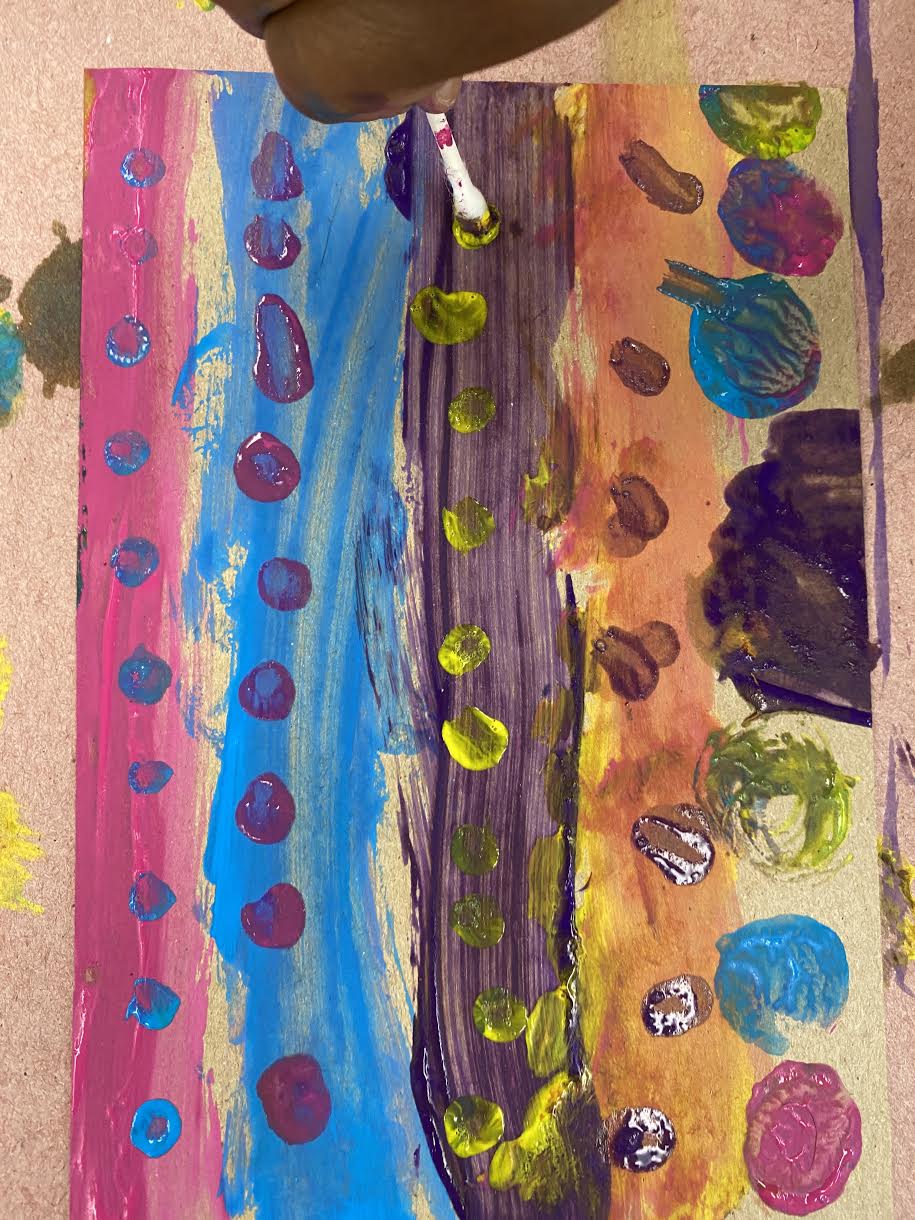
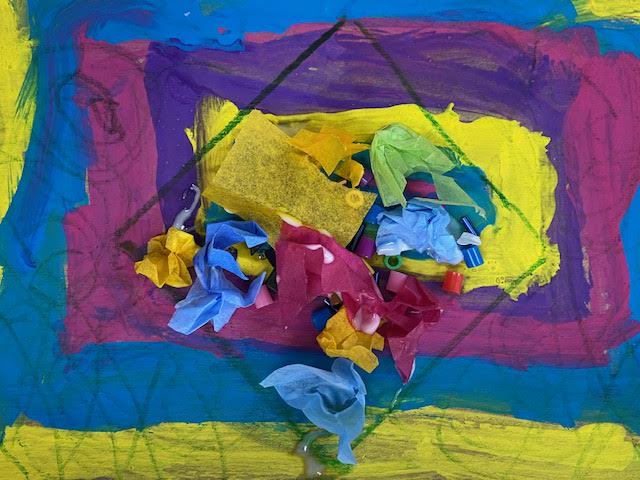
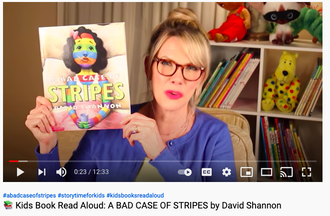
Step 1: ThinkLast week we painted backgrounds. We filled up the entire canvas with color. Maybe you swiped stripes across the paper with a paint brush or maybe you dabbed a Q-tip to creates dots of color.
Step 2: Read a story (or two)Step 3: Create
Step 4: Share!Step 1: Think...
Step 2: Read a story (or two)Step 3: Create!
Supplies:
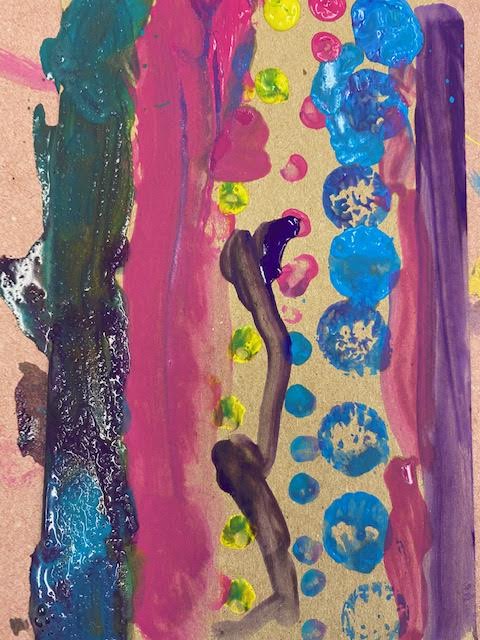
Paint (or food coloring? Ask mom or dad to help!) Cardboard (like a cereal box) to paint on. Something heavier than What will you paint with? Paint brushes Q-tips Corks Bubble wrap Cotton Balls Your finger! Paper towel Experiment! Can you use a potato as a stamp? A piece of apple? Step 4: Share!
Click here to post a photo or video of your art on this Flipgrid. Log in with your Inouye account OR use the password: dkies2020
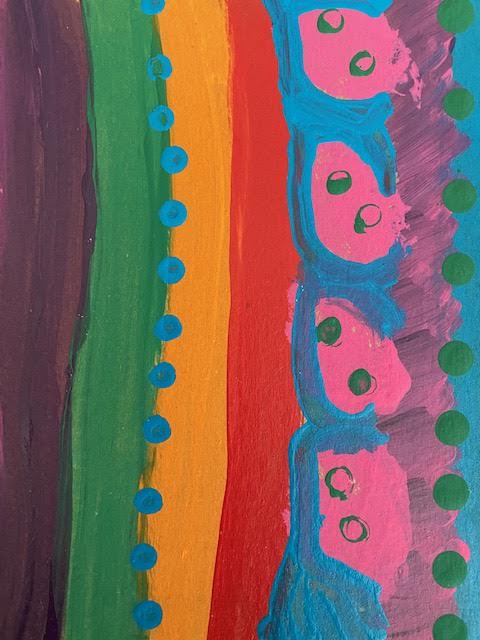
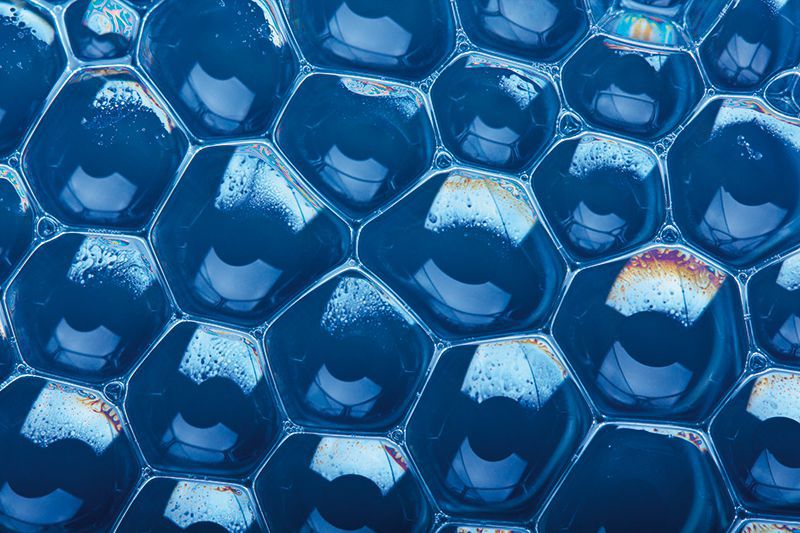
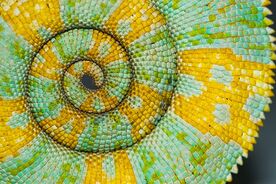
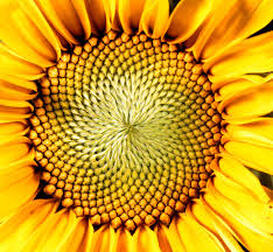
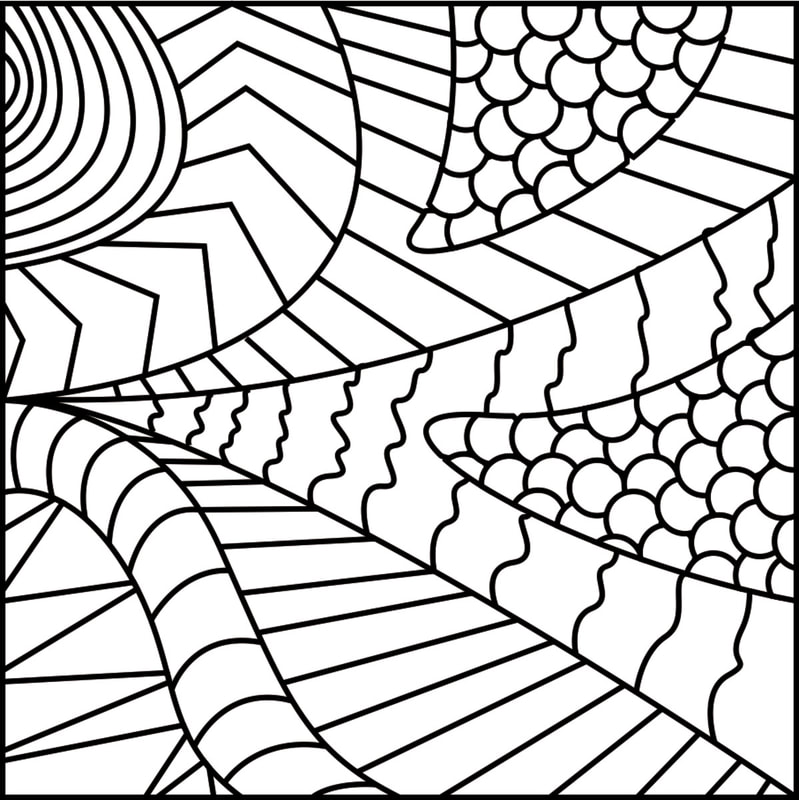
Step 1: Think
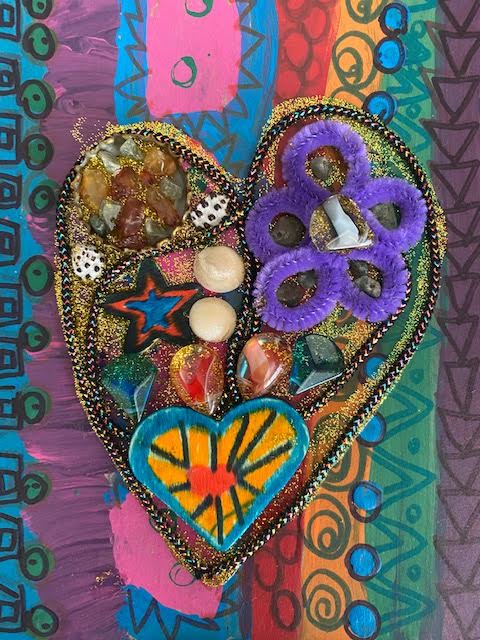
There are many patterns in nature. Sometimes patterns are easy to find. Sometimes they are nice to look at. For this activity, we're drawing patterns inside shapes. You can draw any design or pattern.
Step 2: Read a Story (or two)
Step 3: Create
For this activity, you need paper, a black pen or colored pencils or even markers or crayons.
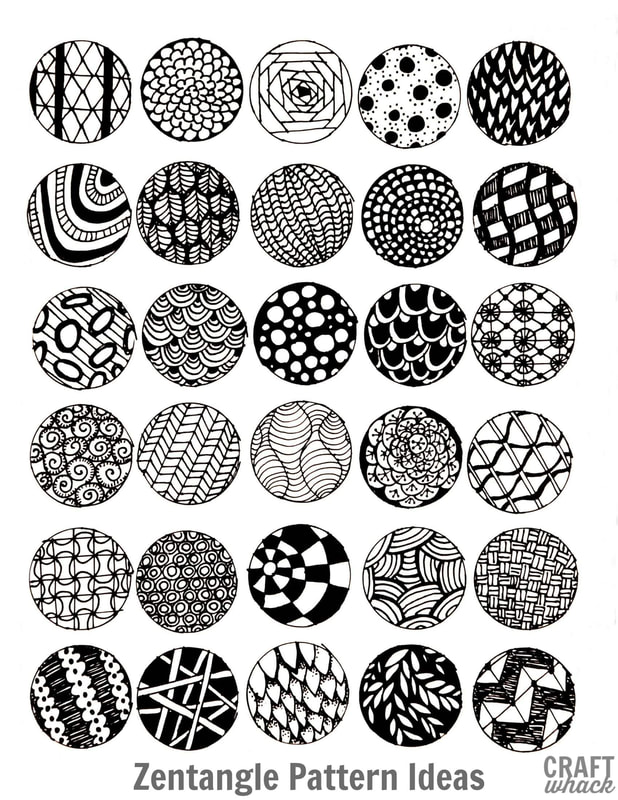
Watch the video below and/or watch this video. There are lots of ways to make Zendoodles! 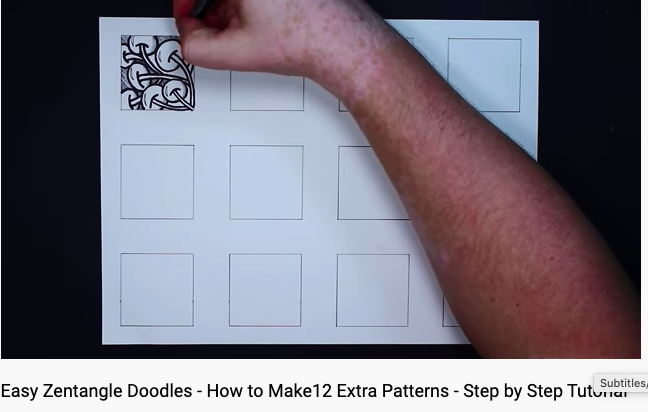
Zendoodles are designs, or repeated patterns. Sometimes they're called Zentangles. You might draw bubbles or triangles or repeat a number of letter. Fill in a space with a repeated pattern to create a zendoodle.
Step 4: Share your creation!
Click here to post a photo or video of your art on this Flipgrid. Log in with your Inouye account OR use the password: dkies2020
Step 1: Think & Share
We use paper a lot in the makerspace.
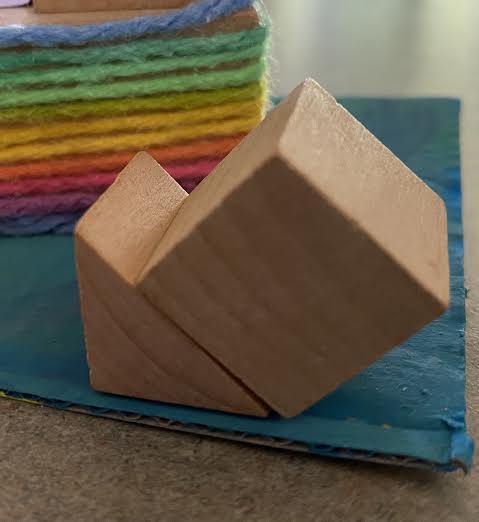
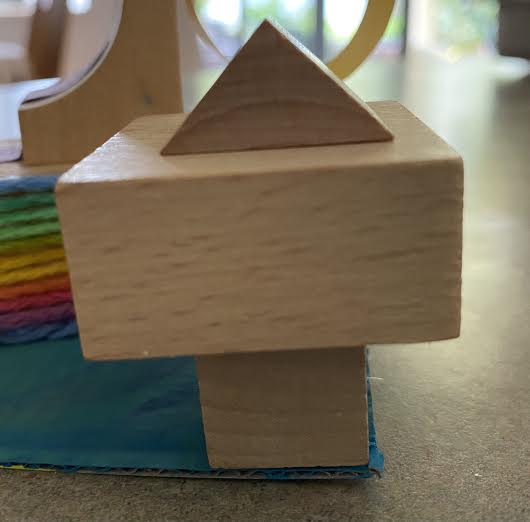
We've painted on paper. We've collaged paper to make flags. We folded paper to make origami. This week, we invite you to "sculpt with paper." This seems strange. How can we do that? Check out the video & picture below to discover new ways to work with paper. I can't wait to see what you create! (Mrs. Colte is thinking of making a Minecraft type jungle tree using the spiral, tabs & rectangular prism sculptures. Can she do it? She can try!) Step 2: Learn from a video (or two)
Click the photo to learn some paper folding techniques.
Step 3: Build!
Supplies:
Paper Scissors A glue stick A piece of cardboard (a cereal box type of cardboard base to glue your sculpture onto) Look at the photo of 3D Sculpture techniques. Try different techniques to create your sculpture. You might try the same technique but do it in different colors OR in different sizes. Step 4: Share your paper sculpture!
Click here to post a photo or video of your art on this Flipgrid. Log in with your Inouye account OR use the password: dkies2020
Step 1: Think & Share
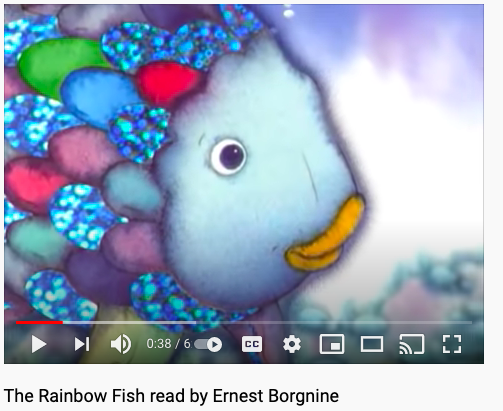
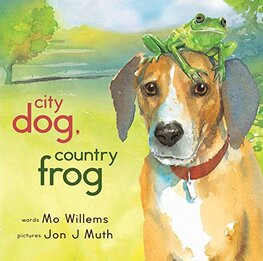
Step 2: Listen to a Story (or two)
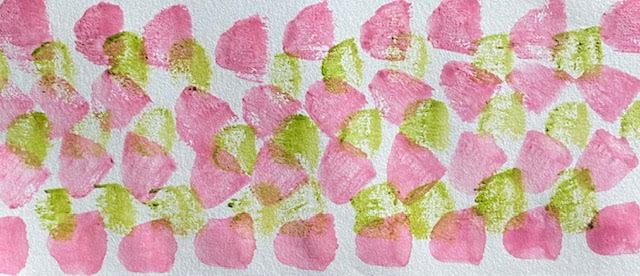
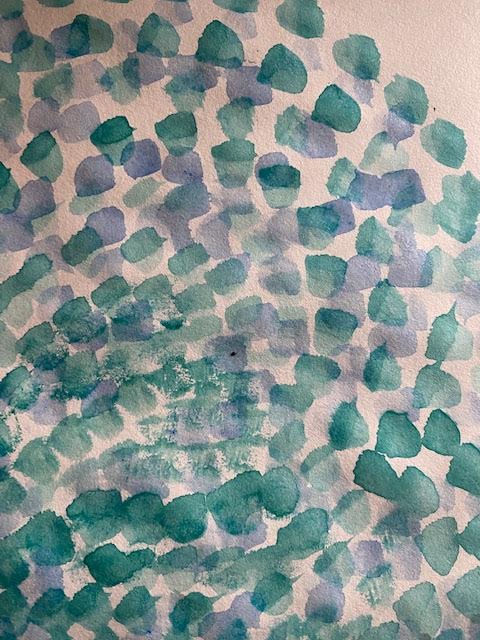
When you listen/watch the books below, look closely at the illustrations. They are done in water color. Do you see how the colors blend together? How the greens or blues are darker in some spots and lighter in others?
Step 3: Paint!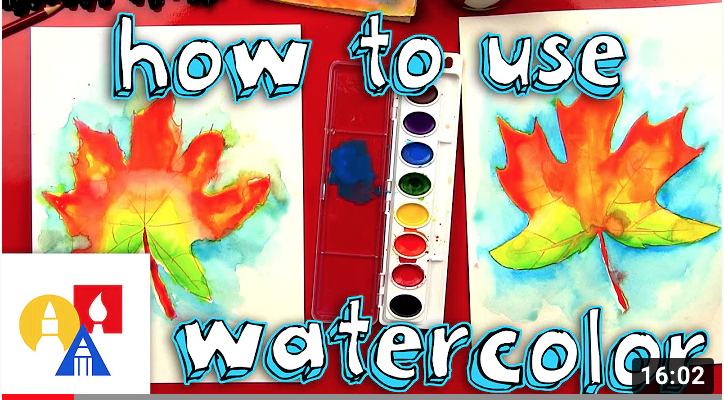
Click the picture to watch the video
Supplies:
Water color paper OR construction paper OR printer paper Water color paints Paint brush Cup of water Piece of paper towel Pencil Step 4: Share your painting!
Click here to post a photo or video of your art on this Flipgrid. Log in with your Inouye account OR use the password: dkies2020
|
Makerspace Mondays:Giving students the opportunity to... Archives
March 2021
Categories |


 RSS Feed
Photo used under Creative Commons from unukorno
